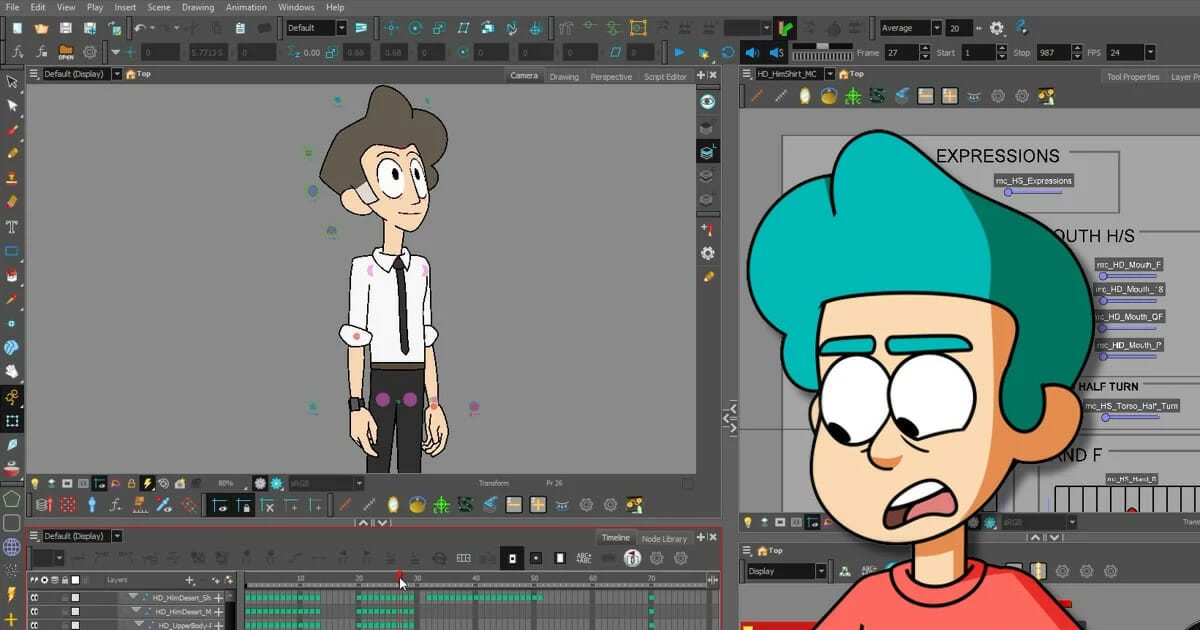
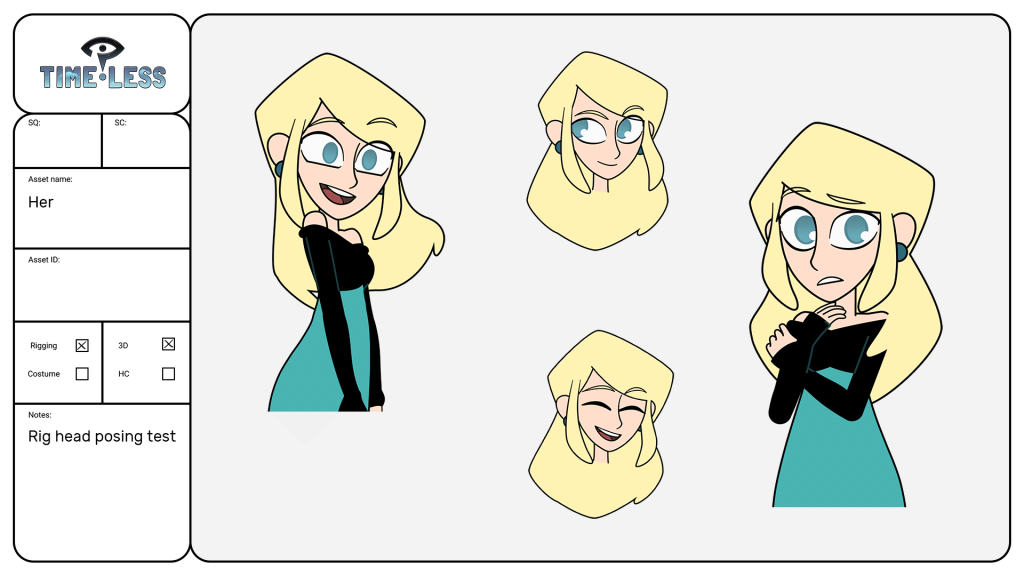
Interested in designing and rigging a 2D character for a professional-grade animated production? A new tutorial series from Piotr Bartosik (known online as Juhas) has you covered. Providing an in-depth look at his own personal project made using Harmony Premium, these videos take users from initial character design through to a fully deliverable character model, ready to be animated!
We spoke with Juhas, and he was kind enough to provide extra insights on his rigs. He covers his favourite uses of Harmony Premium’s features, and provides practical tips for improving workflow and organization. Juhas also offered valuable advice on how character rigging and build artists can pitch themselves to the industry.
A talented rigging artist with more than a decade’s experience in animation, Juhas is currently a Technical Supervisor at Lighthouse Studios, the team behind kids’ favourites such as Bug Diaries and If You Give a Mouse a Cookie. Watch his tutorials and read our interview with Juhas below!
Hi Juhas. What are the fundamentals to remember when building a good character rig?
Build only what you need based on the animatic. Build with simple shapes, and add deformers only if needed. If it’s the main character — add all the features requested by your animation director, but always keep it simple! You don’t want animators to struggle with overly-complicated rigs.
In the tutorials you draw and rig a human character. What are the most challenging features of a human to rig?
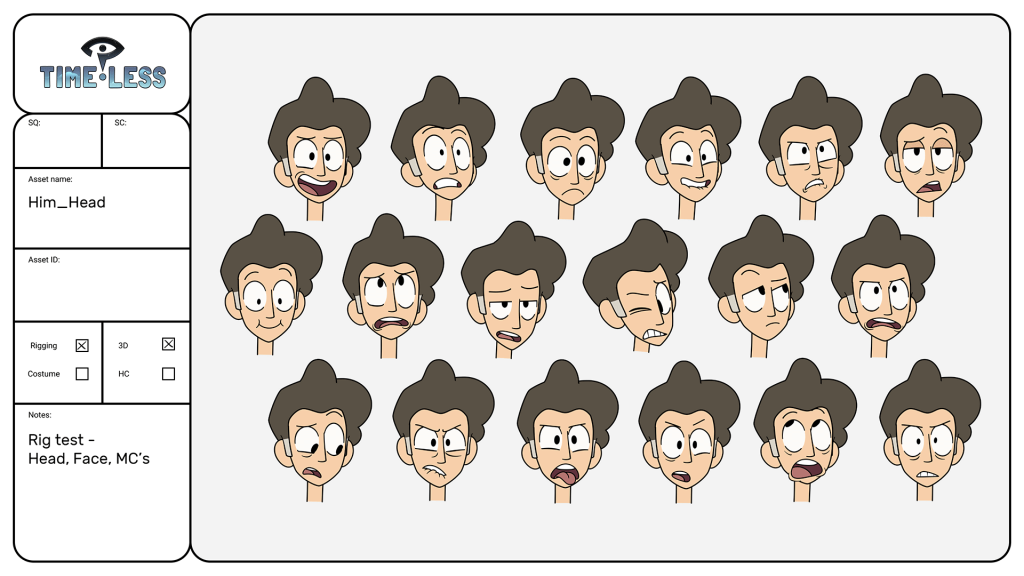
I would say the head. The complexity will depend on the design and animation style. Even if the design seems simple, you still have to add mouth charts, blinks, hair and make them work in all views.
A large part of the tutorial series is dedicated to the character’s facial features. What are the most important tools when doing this part of a rig, and why?
The first would be Envelope Deformers. You can make a full turnaround on one drawing substitution (one for each face part). This results in smooth transitions between views and also makes the master controllers practical.
The second is Auto Patch. This tiny node is super powerful, especially when working on a character with visible black line-art. If I’m being honest, I can’t find any alternative to this feature in other animation software.
Thirdly, a consistent head turn design. Without it, the rig artist spends too much time trying to make it work.
You mentioned the Auto-Patch node in Harmony Premium. Can you tell our readers a bit more about how it can be useful?
It’s a great conditional tool when mixed with Cutter. Especially when you work on flat coloured 2D characters with dark lineart.
Let’s say you have two shapes: An arm and a forearm. You have to merge them together, but when you place one on top of the other, there’s a visible line overlapping the colour. So the easy way around it is to separate lineart to a lineart layer and fill colour to colour art layer. By using Auto-Patch with Cutter, you can easily remove the lineart from a shape, but only when one shape overlaps the other. You can go even further than that, you could make a patch in between both shapes (3rd shape) which would act as a mask, removing only the lines it’s overlapping. This method works even on objects moved in Z-depth. I use it in every rig I build.
How does the process differ when rigging, say, an animal or a creature?
I would say it’s pretty similar. It’s all about the centre of mass and the way your animators plan to animate this creature. With humanoids, you can easily get away with linking and pegging everything to the hips. With four-legged creatures, you may want to build different rigs for different scenarios. If your animators know how to use Constraints, I recommend adding them to the build.
What are the different deformation types you explain in the tutorial?
I mainly use the Envelope Deformer. It’s super versatile. Both ends can move individually so you can easily make a simple line Deformer through the shape. If you need more control, you can always create a second drawing substitution and apply Envelope around your shape.
How would you describe the role of character rigging artist in the wider production pipeline?
I would say, as a rigging artist, you create tools for the animators while staying on a tight schedule. Usually you’re right in between design team and scene planning team. You should have good relations with your animation team as they will be the ones giving you the most retakes.
On a production you will rarely have time to go crazy with the rig, so always start with the most basic build and add more stuff only when schedule allows for it.
What are the key things you consider and discuss when character rigging as part of a team?
It’s super important to unify the way your team builds the characters on the show. Making sure everyone follows the same logic and discussing every part of the character with other rigging artists is always a good idea.
When working alongside animators, what is the key information they will need? How do you communicate this to them?
Explanation on how to use the rigs. Animators may have different backgrounds and their own workflows, it’s crucial that we’re all on the same page.
If time allows — it helps to have rig-specific documentation. But a set of notes in the Node View will also do the job.
Are there any other notable ways the software helps you when working your role in the production team?
I would say the Control Center helps with keeping things organized, but that’s a server version topic.
Toon Boom’s API would be one of the more fascinating features. It’s very digestible even for people with zero coding skills. The documentation for that is clear. Over the last month or so I automated the most repetitive steps for my rigging workflow. It’s great that I can use such scripts (with small modifications) on a server side. It makes my life easier.

What feature of Toon Boom Harmony do you find yourself using the most during the character rigging process?
Templates and scripts. The ways you can automate your work in Harmony are amazing and save you a lot of time. If you see yourself repeatedly dragging the same nodes onto the Node View, just template them. You can also set the inner node attributes inside your template so whenever you place it in the scene, it maintains all these attributes.
The tutorials show an in-depth use of the Node View. Any tips for staying organized in Node View?
I think it is the only proper way to build rigs in Harmony. Sometimes rigs are made with hundreds if not thousands of nodes and layers and the Node View allows you to quickly access all of them.
The fewer groups you use, the better. Place all your drawing nodes horizontally and don’t pile them up in chunks. Spreading everything horizontally allows for easier selection.
Do you have any other practical tips for character rigging in Harmony?
Read through Toon Boom’s documentation. It’s amazingly helpful!
What advice do you have for finding work and opportunities in character rigging?
Build a reel. Make it maximum 20-30 seconds long. And put your best stuff first. Avoid intro or name cards longer than 2 seconds. Show only interesting parts of the rig, preferably a solid turn of a character, maybe a crazy construct done with constraints. Don’t just show Toon Boom’s features, show your own skills and your workflow. People often put 2 minutes of them moving deformers on an arm, but most recruiters already know how deformers work! With the numbers of applicants, they rarely have time to go through a 5-minute long showreel.
And don’t worry about not having an animation degree — it’s not as important as you think. Studios need talented technicians, people who with their rigging skills can make money for the company.
Do you plan to make more tutorial content with Harmony in the future?
Definitely, there’s still so many topics to cover. At the moment, I’m recording a quick series about animating with the rigs. Once I finish editing, I will start uploading them onto my youtube channel. After that, I’ll probably jump to Storyboard Pro videos.
Interested in learning more about rigging? For more of Juhas’ work, see his YouTube and Twitter, and keep an eye for more of his tutorials in the future!


